CLOUD HOUSE PROGRESSES, EVEN WITHOUT ME!

I should have added photos before I went away in July, but didn't,
so I am playing catch up.
This is what it looked like at the last posting in early June.
Solar rack, with chimneys and skylight is up, and the fly-raftrers are
being laid out on the glue-lam beams.

Framing for the rack, skylight and fly-rafters.
The flys are notched to recess the plywood sheathing.

A case of insulating from above: in the fly-rafter cavity, first the insulation,
then pink foam inserts to assure air flow, then the roof plywood.

With the plywood in place, it can be notched
to take the metal sleeves (part of the weatherproofing scheme).

Meanwhile, out on the ends, where the fly-rafters will sit on them,
the beams have had a water-proofing regimen:
felt paper, shims for air flow, siding, metal cap flashing.
On the far beam, brackets which will hold the fly-rafters have been installed.

Under the fly-rafters, a vent has been built for the insulation below the lo-roof.

And a larger cricket is being built to enhance water flow towards the ends of the lo-roof.

Down on the lower level, Charlie is contemplating siding samples,
as well as the effect of sun beams through holes in the fins.

SO, this is where it was at when I took off for China in mid-July.

While gone, the crew got started on preparing for siding.
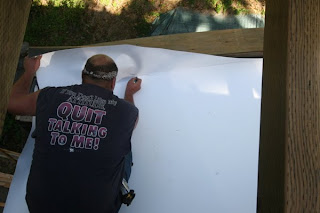
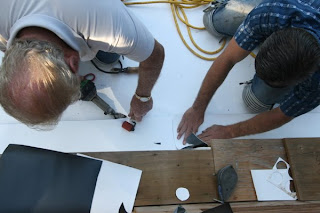
Peel&Stick is wrapped at openings and corners.
Felt paper is applied, and white drainage battens are affixed.

Horizontal battens for vertical siding, vertical battens for horizontal.
Makes sense, no?

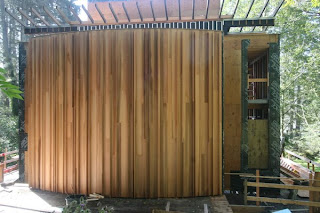
The first wall to get sided, the west, with 1x4 horizontal red cedar, with small
"V" grooves to suggest water falling from the low roof.

Back to those pesky fly-rafters coming out of the house.
Felt, drainage battens (quick quiz: which way will the siding run here?),
Peel&Stick (never can have too much of that), and finally
those stainless steel sleeves can come to rest.

This has to be vented, so siding goes on, with blocking above...

...to carry the facia, which is blocked out to create the vent openings between the fly-rafters.

The interior has not been totally abandoned.
The header for the sliding doors is in, going the full length of the interior,
and some of the exterior as well!

And of course the engineers were not happy with everything we did.
Here they have asked for the top hold-down be relocated to a higher spot.
Ian has removed it from the beam top and holds in in the new location.
A coupling will hold the additional length of threaded rod required.

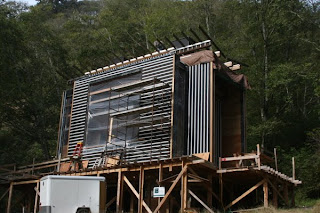
And that is what it looked like upon return from China in mid-August.
For the nonce, instead of calling it "Cloud House",
it is is known as "Zebra House".

I finally tried the route between Otis and I-5 which requires a
short ferry ride, but has no traffic signals, nor much traffic.
She holds 9 cars max., and takes about 3 minutes max
to cross the Willamette River at Wheatland.

And out front of the trailer, in the cul-de-sac, grows this!
Anyone know its gastronomic qualities??









.jpg)


